Walkthrough Checklist: Everything a Landlord Should Look for on a Walkthrough
Renting out your home involves a lot of trust. You need to trust that you have selected the right tenant to take care of your property while they live in it. While it is common practice to do a rental walkthrough at the end of any lease agreement, it is also beneficial to perform landlord checks every so often to make sure the place is not turning into a rental horror story.
Once a tenant has decided to move on (and move out) all landlords must do a walkthrough to ensure that there is no damage that would have to be covered by the deposit. As most know, a deposit of 1 month’s rent is held by the landlord at the beginning of any lease, an given back at the end (if warranted). So, what do you look for on your walkthroughs? How do you ensure that your property was taken care of and is not damaged in any way? Here is your complete walkthrough checklist to make sure your property is in top-notch condition for the next tenant.
Marks on Walls/Scuffs on Floors
As you add items to your walkthrough checklist, closely inspect the walls and floors for any damage or marks. This is especially important if you clearly identified in the rental agreement that no holes were to be made in the walls. If any pictures were hung, dents were made, or marks were left on the walls they will need to be fixed by the tenant or taken out of the deposit. Also look at the bottoms of walls and on hardwoods, as when placing furniture on moving day, it is possible scratches or damaged was done.
Stains
Life happens and sometimes stains are the result. In most cases, stains will come out of the carpets, but in cases where a professional has to be brought in, it can cost you. Check to make sure the rugs and carpets do not have any serious stains or burns or markings on them that would require extra care to remove.
Look for Any Broken Items
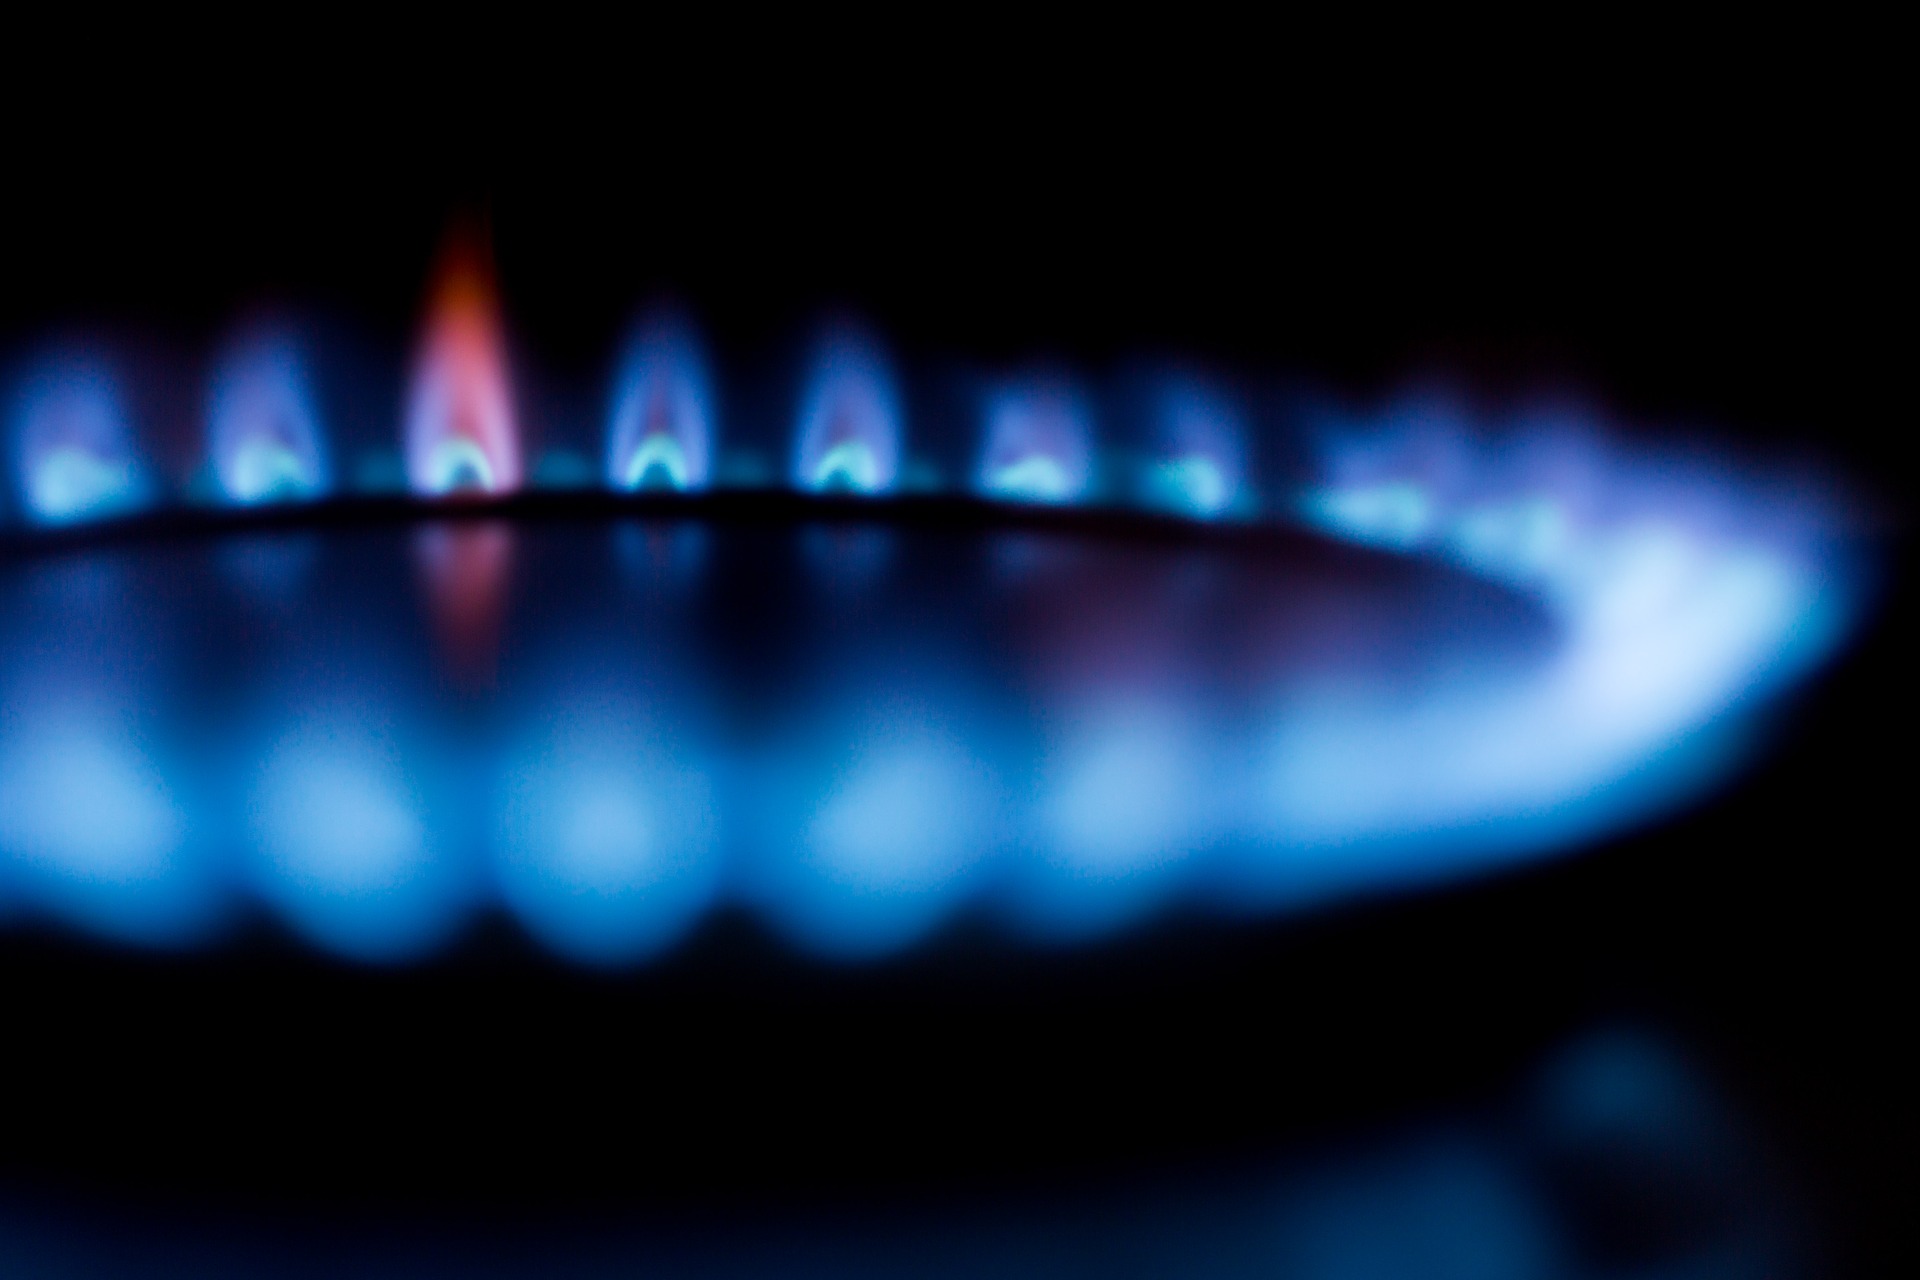
A good item to have on your walkthrough checklist is looking for any broken items or appliances. If your rental included specific appliances or furniture, take a second to make sure each is in good condition: Turn on the oven and burners to see if they are in working condition, check the legs of furniture, and any glass for cracks and chips. It is also beneficial to take a look inside other appliances (fridge, washer, dryer, dishwasher, etc.) to see that the tenants maintained them and kept them clean.
Outdoor Fixtures
Depending whether your rental has outdoor space or not, check the structures and layout of the outdoor areas. Decks can have damaged boards, loose nails, and other hazards that may need attention. Are any of the boards, railings, or walls wobbly? Having this information allows you to bring it to the attention of the tenant and plan possible fixes if necessary.
Smoke Detectors
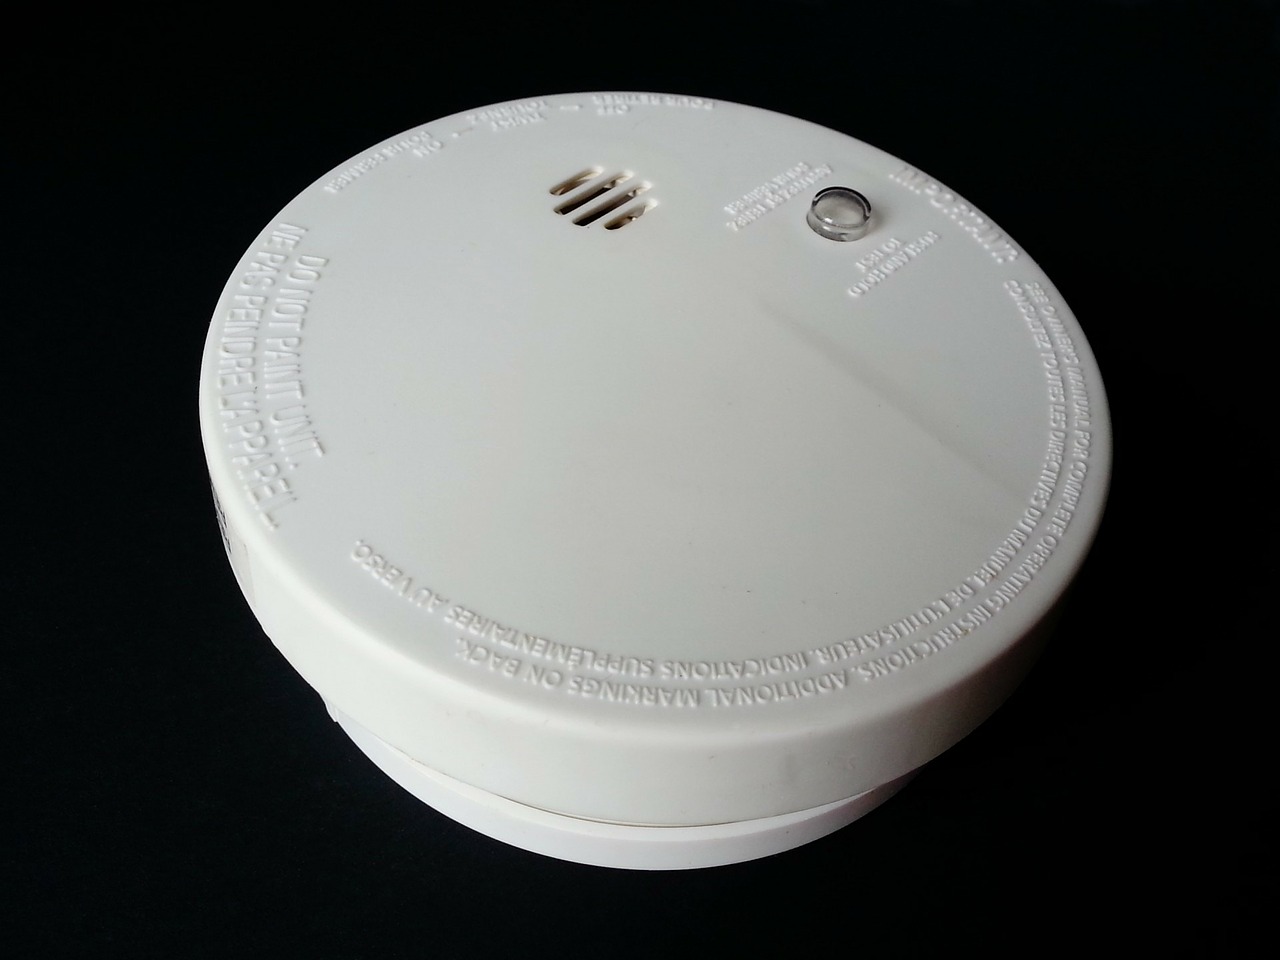
Some landlords may have a documented schedule of when to change fire extinguishers and smoke detectors. For those who don’t, be sure to add “check the smoke detectors” to your walkthrough checklist. It is crucial that smoke alarm batteries are properly replaced periodically. Depending on the rental agreement, it is the landlord’s responsibility to ensure that proper safety procedures are in place. Landlords should guarantee the working order of all smoke alarms and fire extinguishers while doing a walkthrough.
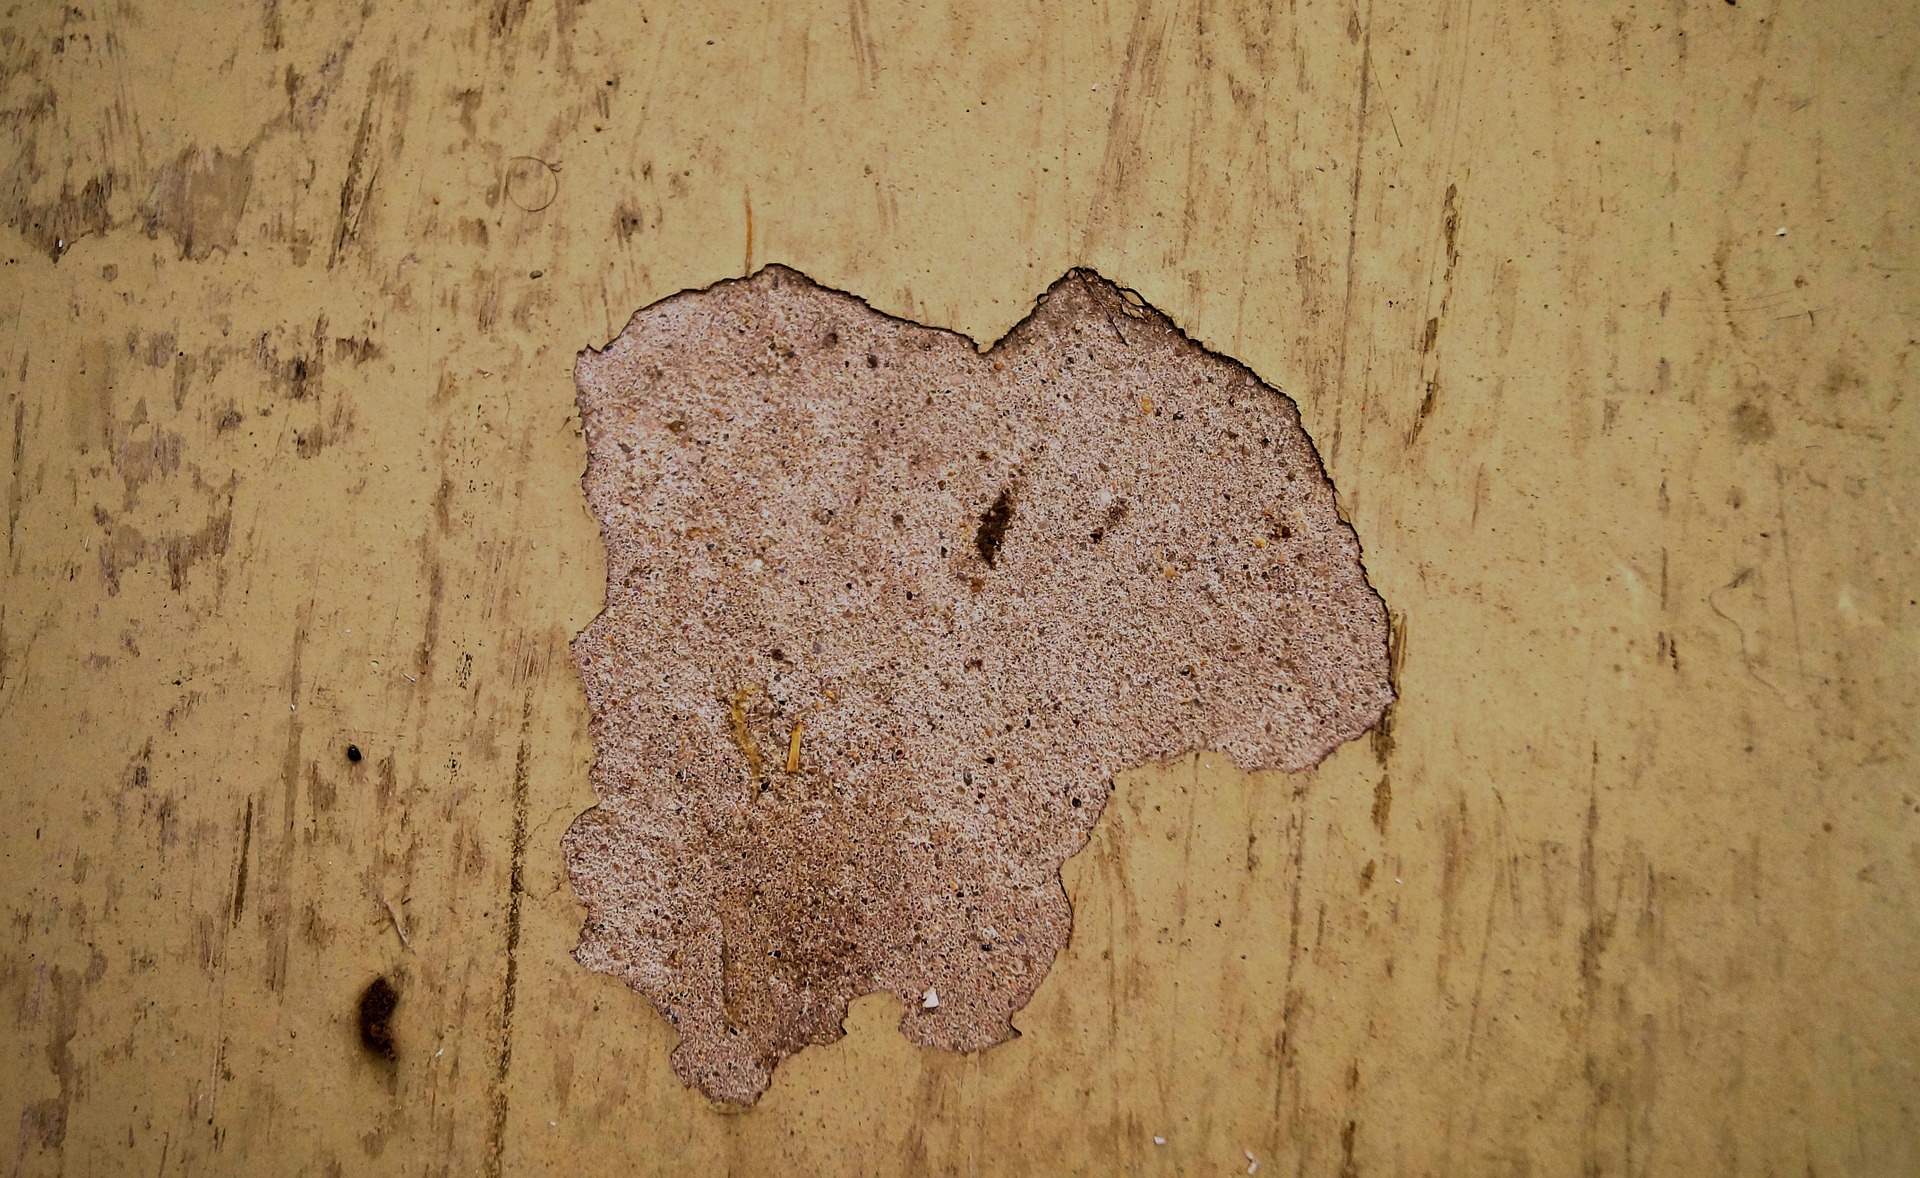
Water Damage
Water damage can be one of the costliest repairs, depending on the severity. Checking for water damage is especially important for landlords who have multi-level buildings to manage. If water damage occurs on the floor of one rental space, it could mean water damage on the ceiling of another. Observe the areas surrounding bath tubs, showers, washers, and sinks to see if any water damage has occurred. While checking these areas, watch for any faucets or taps that may be dripping as well. Those will need replacement or fixing as soon as possible (and not at the expense of the tenant)!
Sealed Windows

As you observe the rooms, take a look at each of the windows to see if they are properly sealed. Windows that have loose seals, do not close properly, or are broken in any way can seriously affect your energy bills. In colder months, the heating will have to work harder to warm those rooms that have cool drafts coming through unsealed windows. Identifying these problems early on can help avoid costly bills and unhappy tenants later on. This will fall under your own expense as a landlord, unless it is obvious that the tenant tampered with them.
Once you have completed everything on your walkthrough checklist, you can feel confident that your property is in good shape. If there is damage or problems with the rental, bring it to the attention of the tenant and have it priced out in advance. The tenant should be given the opportunity to fix items themselves (filling holes, renting a carpet cleaner, etc.). If the costs do not total the deposit, you must give the remainder back, with accumulated interest. After everything is fixed up – take note of the new state for the next tenant.